To plan custom plush toys for museum gift shops, start with a museum-specific subject, give each format a retail role, and confirm quantity per design, display dimensions and approval responsibilities before sampling.
At FunEnjoy Toys, our recommendation for a first bulk order is to develop one clearly defined product, then assess additional characters or formats against the shop’s buying plan. Each addition brings its own specifications, approvals and quantity decisions.
Choose a subject visitors can connect to the museum
A museum plush needs a specific connection to the visit. That might be an animal from a collection, a recognizable building, an exhibition character or a detail associated with an artist.
The Museum Store Association’s Knowledge Standards connect merchandise selection and custom product development to the institution’s mission. For a plush brief, describe the collection, exhibition or story the product should help visitors remember.
The American Alliance of Museums describes how museum stores reflect their institutions’ values through merchandise selection. For your collection, specify what the product should communicate and which story or sourcing claims the museum has approved before those claims appear on a hangtag.
Before sampling, identify the features that must remain recognizable. For an animal, those could be its silhouette, ears or markings. For a building, they might be its roofline and entrance.
Our factory recommendation: mark these features on the reference artwork before choosing decorative details. A small marking beside a curved seam may shift visually after stuffing; fine embroidery can also become difficult to see through longer pile. Ask for proposed adaptations while the pattern is still being developed.
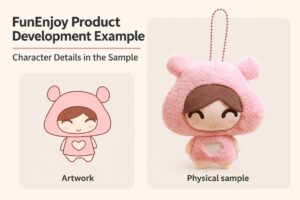
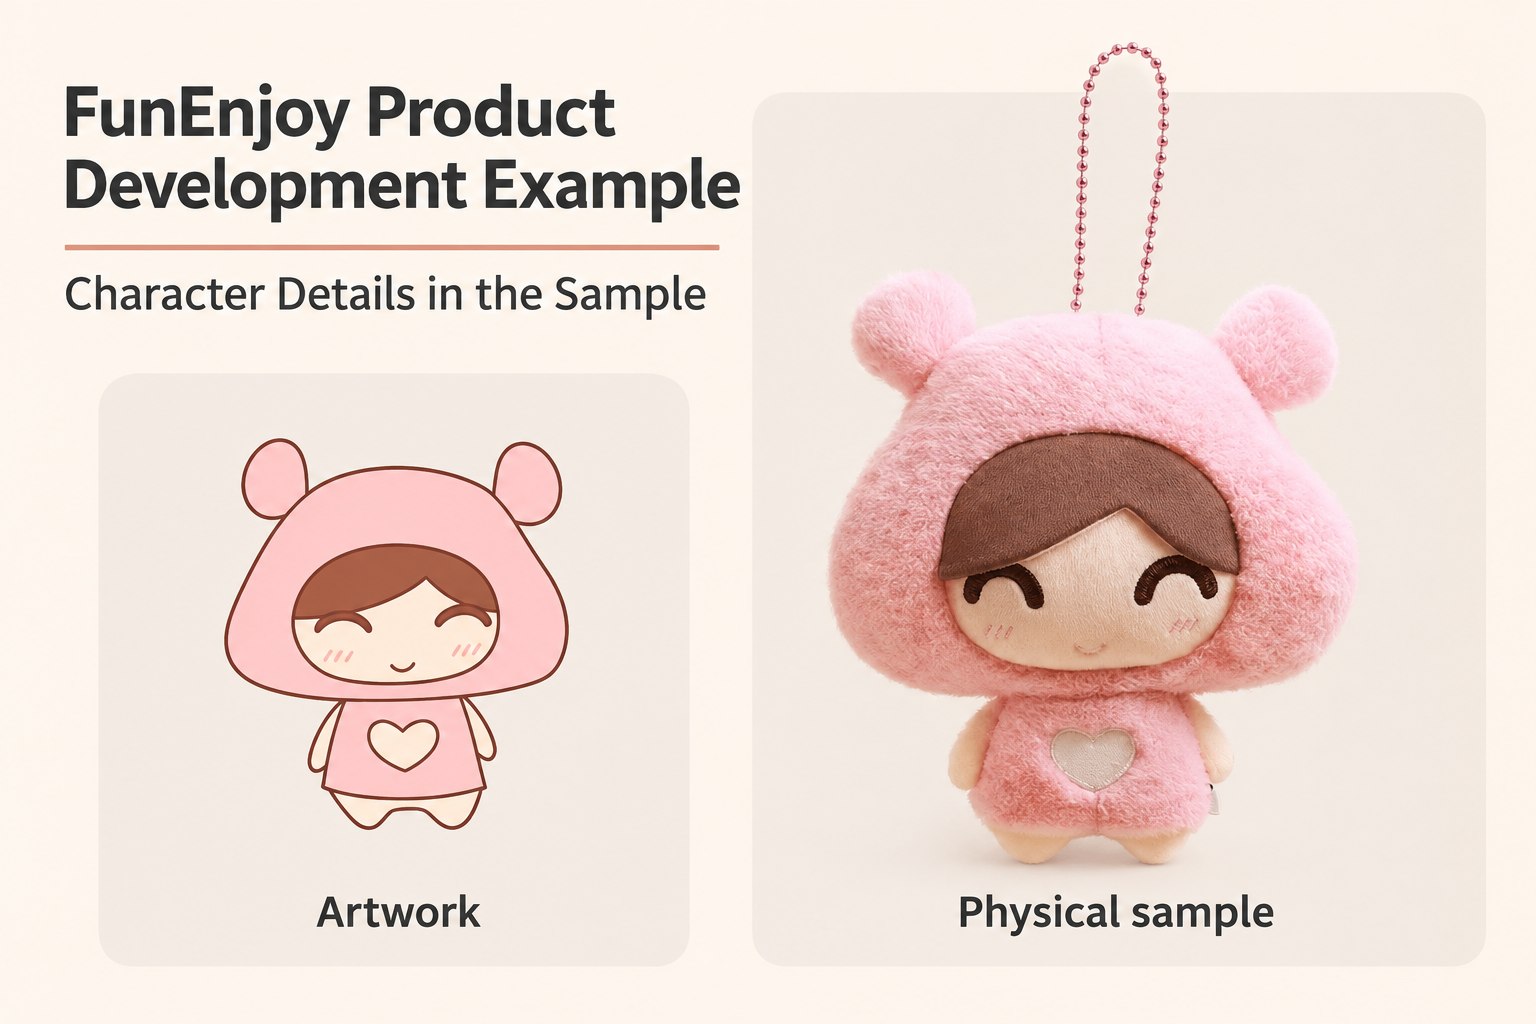
Our pink hooded character example makes this review concrete: compare the contrasting face panel, expression and heart detail with the artwork. For a museum character, use the same review to check the features that carry its identity before adding story copy and retail labels.
Choose formats and quantities for your museum plush collection
Choose formats around the shop’s display and buying plan. Use these questions before adding a second product or presentation:
| Proposed format | Retail purpose | What the factory needs to review |
|---|---|---|
| Sitting plush | A main shelf souvenir | Stable pose, width, depth and recognizable features |
| Mini plush keychain | A hook or checkout display | Hanging balance, attachment placement and label clearance |
| Gift presentation | A boxed or packaged purchase | Packed dimensions, product visibility and approved story copy |
Ask whether each addition serves a different price point or display position. If it mainly repeats the first product, consider postponing it until the shop has evidence of demand.
FunEnjoy’s MOQ is 1,000 pieces per design for standard custom plush and 2,000 pieces per design for custom plush with built-in electronic modules. Designs, colors and sizes cannot automatically share one minimum. Confirm the scope against our MOQ and order requirements before dividing a budget across several products.
For example, two standard designs planned at 1,000 pieces each mean a 2,000-piece purchase commitment. That arithmetic should be visible in the initial collection plan.
From a production perspective: ask which materials can genuinely be shared. Two designs might use the same confirmed fabric, thread or label specification, while still needing separate patterns and assembly work. Shared materials do not automatically merge their MOQs or guarantee a lower price.
Apply sample approval checks to a FunEnjoy product case
Our custom plush keychain case gallery includes a round panda, with its artwork shown beside the physical sample. The comparison shows a rounded body, contrasting eye patches and a top clasp and chain. It gives museum buyers a concrete product example for planning their own sample review.
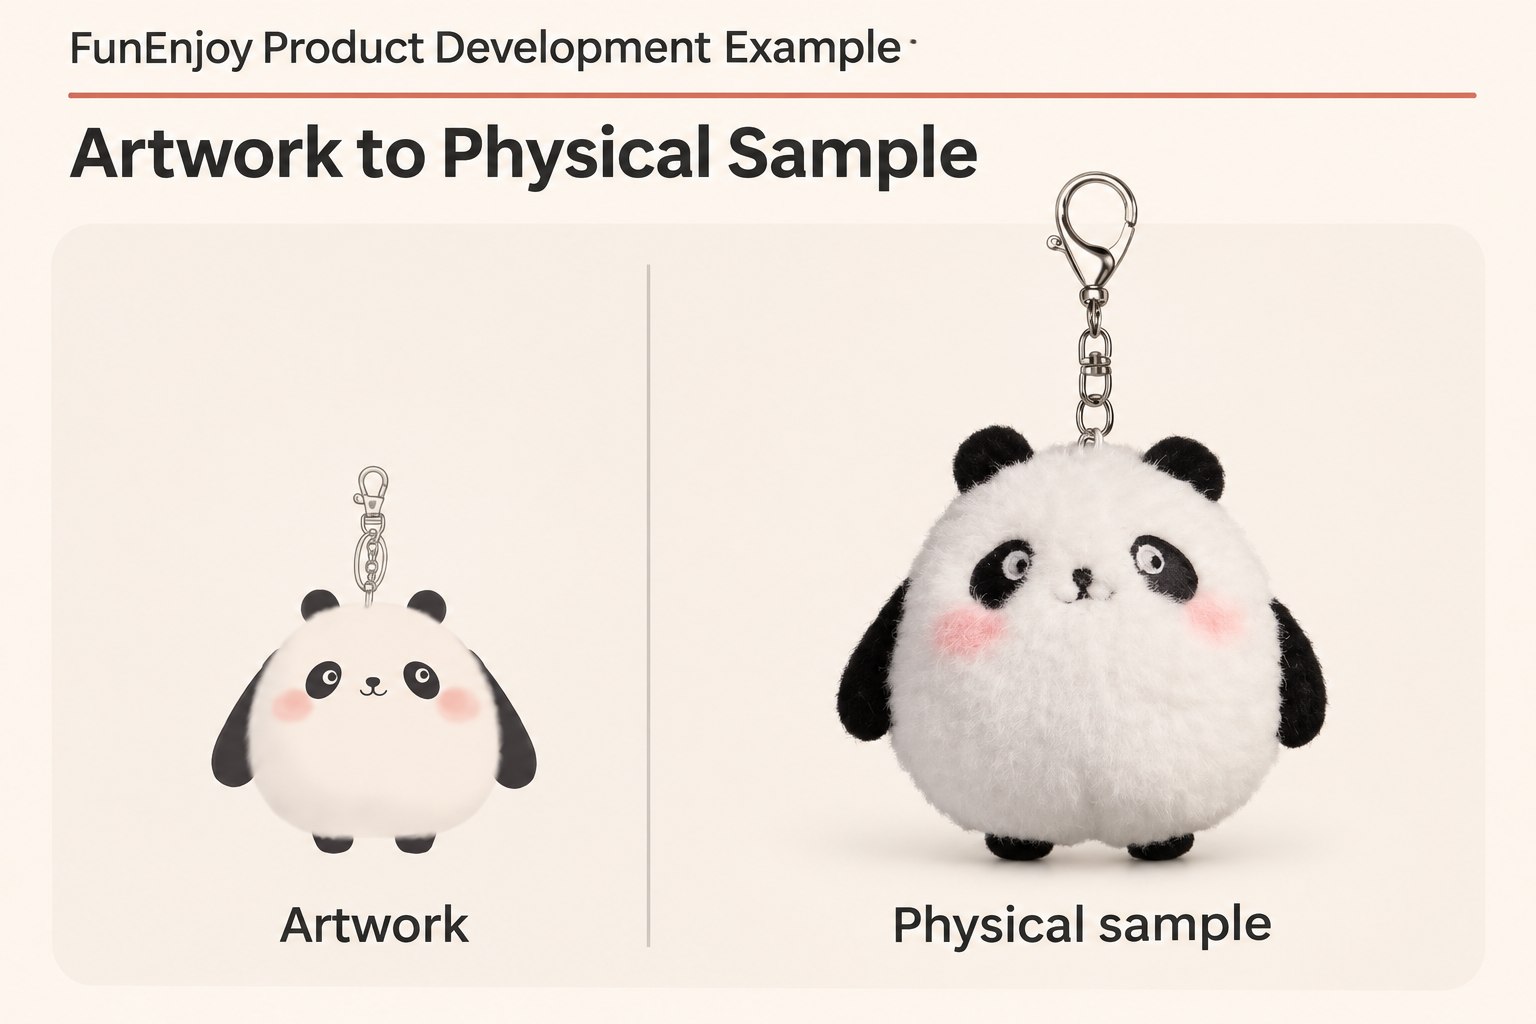
Before approving a museum keychain, check:
- Does the filled shape keep the character’s recognizable proportions?
- Are the face and markings readable at the finished size?
- Does the attachment let the character face forward on the intended hook?
- Where will the approved retail tag sit without covering the face?
Use these product examples to plan the sample review for your own museum collection. Confirm the story tag and hanging display separately. If you also develop a larger sitting plush, approve each format individually.
Our plush toy prototype service covers pattern making, material selection, balance, construction and revisions. Include the hanging pose and proposed retail display in your sample review.
Approve museum souvenir plush in its selling position
A front photograph leaves several retail questions unanswered. Review the sample sitting on the intended shelf or hanging from the proposed fixture, with its tag and packaging attached.
Check the finished product’s width and depth as well as height. Wide wings or a large tail may take more shelf space than the height specification suggests. A hangtag can obscure the face, and a loop that looks unobtrusive on the table may turn the character sideways when suspended.
Our recommendation: approve three views together—the product alone, its normal display position, and its packed form. Record the dimensions of the packed unit so the shop can assess shelf fit and visitor carrying convenience.
Keep the factory cost target separate from the proposed retail price. Ask the quotation to identify what is included, such as individual packaging, story tags and export cartons. Use the existing plush packaging guide for packaging options once the retail requirements are clear.
Keep story approval and product identification connected
Assign a named approver for the museum story, artwork permissions and final product appearance. Give the retail team responsibility for confirming the item name, stock code, barcode data and display requirements.
If the shop uses GS1 Global Trade Item Numbers, have the responsible product owner confirm the identifiers before tag artwork is finalized. The GS1 GTIN Management Standard explains identification decisions for new products and changes to existing products.
The factory should receive the approved data and artwork version. During sample review, check where the tag attaches and whether its artwork matches the correct product. Include a scan check using the shop’s receiving or checkout equipment before approving the printed tag.
Also confirm intended users and selling markets. Keep any required safety, labeling and testing decisions in the same project record; our safety and compliance support can help review the manufacturing requirements.
Send one collection brief for a manufacturing review
Use one row per proposed product. It makes the differences between designs visible before sampling begins.
| Brief item | What the museum or retail team should provide |
|---|---|
| Subject and permissions | Approved references, story source and artwork authorization |
| Product role | Main souvenir, hanging accessory or gift presentation |
| Size and display | Target dimensions, shelf or hook arrangement, carrying requirements |
| Quantity | Planned units per design and any proposed variants |
| Commercial scope | Target retail price, factory cost target and quotation inclusions |
| Retail information | Item name, stock code, barcode data and approved story copy |
| Market and timing | Intended users, selling markets and required arrival window |
| Approval contacts | Who approves the story, sample, retail artwork and order |
Once a sample is approved, keep its version, specifications and retail artwork together. For a later order, list any changes to materials, construction, tags or packaging before treating it as a repeat.
Plan your museum plush collection with FunEnjoy
Tell us your museum or retail organization, theme, authorized references, product format, quantity per design and required arrival window. We can review material and construction options, the sample scope and the practical production requirements.